


HIGH FLYING for Toyota RAV4 2022 2023 2024 2025 Car Accessories Trunk Ceiling Lighting Interior Replacement Cargo LED Lights Lamps Kit to Hatch Door 2PCS
Details
- ColorRed White
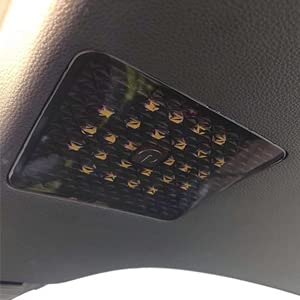
- ShapeRectangular
- MaterialPlastic
- Finish TypePainted
- Light Source TypeLED
Description
💡 Light up your ride, own the night!
- WATERPROOF DURABILITY - Built to withstand moisture and daily wear, ensuring long-lasting performance in all conditions.
- SMART LIGHTING CONTROL - Automatic on/off syncs with hatch door, plus manual switch for ultimate control and energy savings.
- TAILORED FOR RAV 4 2022 2025 - Precision fit for your Toyota RAV4 hatch, enhancing interior aesthetics and functionality instantly.
- SEAMLESS NO CUT INSTALLATION - Flush mount design replaces access panels—no drilling or damage, just plug & play convenience.
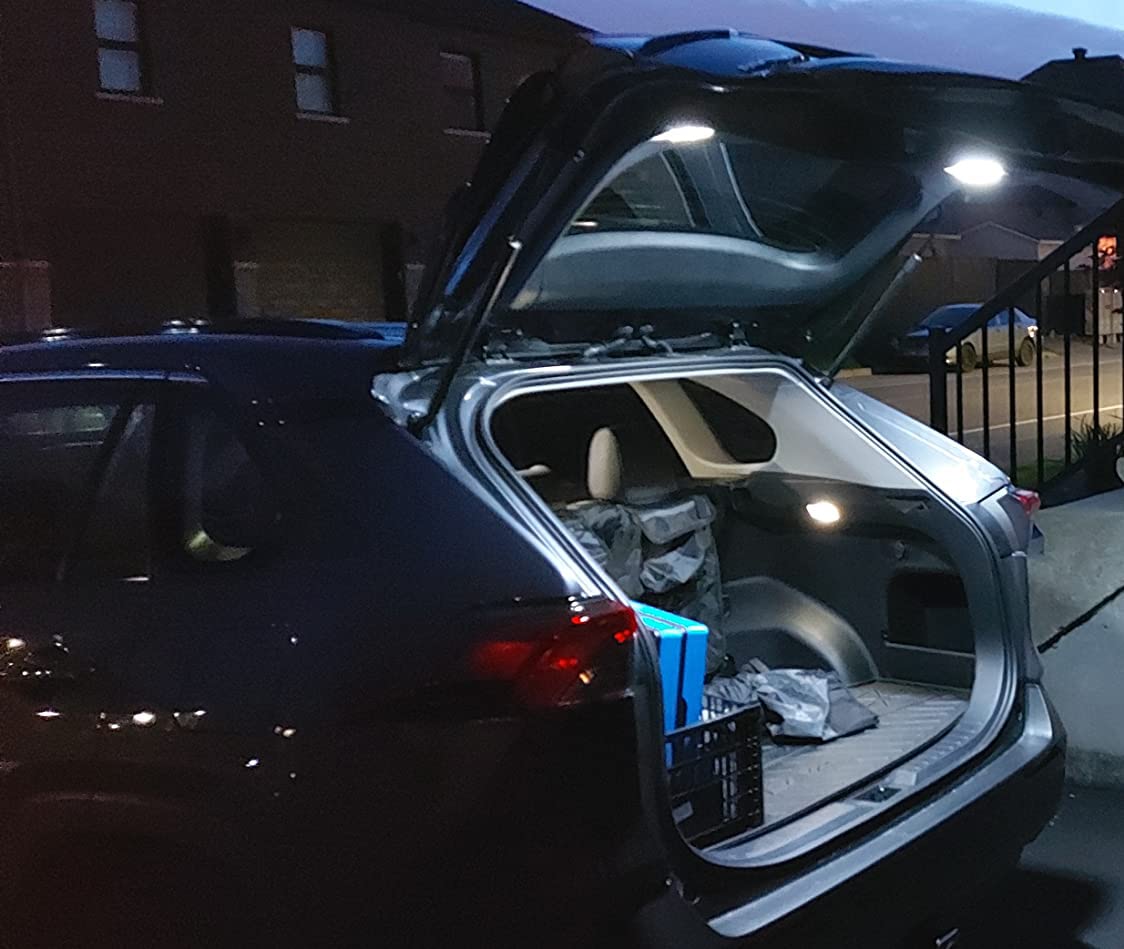
- ILLUMINATE YOUR CARGO LIKE A PRO - Powerful 2W LED lights fully brighten your RAV4 trunk for effortless loading and style.
The HIGH FLYING Trunk Ceiling Lighting kit is a precision-engineered LED upgrade for Toyota RAV4 models 2022-2025. Featuring bright 2-watt LEDs with automatic and manual controls, it installs easily without cutting, replacing existing access panels. Waterproof and durable, this kit enhances cargo visibility and adds a sleek, modern touch to your hatch interior.


Specifications
| Color | Red,White |
| Shape | Rectangular |
| Material | Plastic |
| Finish Type | Painted |
| Light Source Type | LED |
| Shade Material | Plastic |
| Power Source | DC adapter |
| Brand | HIGH FLYING |
| Voltage | 12 Volts |
| Maximum Compatible Light Source Wattage | 3E+1 Watts |
| Mounting Type | Flush Mount |
| Bulb Features | Automatic on/off, manual control |
| Bulb Shape Size | ALR56 |
| Number of Light Sources | 1 |
| Are Batteries Included | No |
| Bulb Base | Flanged |
| Manufacturer | HIGH FLYING TRADE CO., LIMITED |
| Item Weight | 11.6 ounces |
| Package Dimensions | 7.2 x 6.06 x 2.8 inches |
| Item model number | HIGH FLYING |
| Is Discontinued By Manufacturer | No |
| Manufacturer Part Number | TYRA220506C |
| Position | Right |
| Special Features | Waterproof |
| Wattage | 2 watts |
Reviews
W**N
Should be standard equipment!
These lights are fantastic, and not very difficult to install. That being said, here are some installation tips:I have no experience working with electrical connections on cars, but even with no instructions it wasn't hard to figure out. The wire with two connectors and a fuse at one end, and slot connectors at the other, runs from the existing cargo light up through the side pillar to the rubber gasket connecting the hatch to the body. The slot connectors go into a plug which you install after the wire has been fully threaded into position. The other wire, in the shape of a Y, has a small plastic connector for each light panel and a plug to connect to the other wire. The base of the Y is a fairly long wire which seems unnecessary, but it's not hard to tuck it out of the way.You really only have to take off the top center plastic molding, the two side pieces, and pop out the existing cargo light (and the access panels being replaced with the lights). Leave the cargo light plugged in so that you don't lose the connector. One picture shows a gold wire puller in position to pull the wire up to the rubber gasket. The other end is already plugged in, but that's not a good idea. The plug hanging down is where the existing cargo light will plug back in.The hardest part was getting the wire through the rubber tube that connects the hatch to the car body. I started by using a wire pulling tool which wasn't too hard to work through, then used that to pull a thin cord through. I tried several times to get the wire through as it was, but couldn't get it past the narrow middle section. Then I very carefully cut the black outer cover away and pulled the red and white wires through separately, bending each wire into a U shape and wrapping it with electrical tape to protect the slot connector. Once I had both through, I replaced the black outer cover and wrapped it with electrical tape. One picture shows the wires fed through the gasket, with the outer black covering sliced open to expose the wires but still attached.When you are ready to put the slot connectors into the plug, be sure that when the connection is made that red goes to red and white goes to white.The "Y" wires that connect to the lights don't have much length to spare, so be sure to position the point where they separate right in the middle of the hatch. I used cable ties to secure the one on the driver's side to the existing cables. On the other side there isn't much to fasten to, so I used electrical tape to hold it in position and out of the way of the holes for the molding mounting tabs. The tape won't hold forever but it's covered up anyway.The light panels are different for right and left. The first time I tried fitting one I thought it didn't fit, until I tried it on the other side. I have a 2020 RAV4 XLE and they fit perfectly.
A**E
Lubricate the wires to pull them through the rubber sleeve.
I love these lights! They provide much more useful lighting than the stock cargo area light on all but the top trim package RAV4. Product came as advertised. Instructions were in Chinese, and were useless to me. There are several very helpful installation videos on YouTube. Watch one or two before attempting to install these lights if you have any questions.The most helpful thing I can add is about pulling the wires through the rubber sleeve between the body and rear door. I used a piece of thin gauge (18 AWG) solid copper wire to fish the wires from the light kit through the sleeve. To push the pull wire through the sleeve, first take the pull wire and fold the last half inch over onto itself, and pinch it together to make a tight loop. Then wrap it in electrical tape. Push the wire through the rubber sleeve until it will not push any further, then work the folded head of the push wire through the sleeve by collapsing the sleeve and then expanding it while pinching onto the head of the push wire.When the push wire is through the sleeve, remove the tape, fold the ends of the two wires that you are fishing through the sleeve and hook the end through the hooked end of the pull wire, taping it up tightly with electrical tape afterward. The key here is to make the connection between the pull wire and the light wires as compact as possible. Then lubricate the taped connection that you just made and several inches of the wires that you are pulling through the sleeve. I used a couple of drops of dish detergent with a teaspoon or so of water and it worked fine. This will prevent any unwanted friction in the sleeve and against the other wires in it, and makes pulling the wires through so much easier than trying to pull through the rubber sleeve with dry wires. It will also prevent the chafing of any wires, which could eventually come back to haunt you later in your RAV4's life.Other than the bit about the rubber sleeve, you should buy the right tools to pop out the interior panel fasteners. The $10 you spend on a few plastic pry tools pay for themselves during this installation alone. It's much better than using the wrong tool and damaging the fasteners, then being reminded of it every time you see those dog-eared fasteners again. Also, be mindful that the lights are not exactly the same. If the first light you try to snap into place doesn't seem to fit right, try it on the other side and you will find that it is an exact fit.This was my second modification to my '24 hybrid after LED reverse lights (highly recommend) and I couldn't be happier with them.
K**S
RAV4 cargo lights. Very nice.
First. I ordered the wrong year, I have a 2019 but ordered the one for the 2022. Didn’t double check the “this fits your car” filter. Don’t always believe that thing.Anyway, the connection to the existing cargo kight is different. I just cut the connection off and spliced the wires together. No problem.Easy install, I did run the wires up through the washer fluid line because I didn’t have to make any extra holes. Spray lube on the harness so it slides through easily. I actually used weed eater plastic line to make a fish line, taped the wires to it and pulled it all through. That was the most time consuming part.The work great! Nice lighting. The light is bright and you see we’ll in the cargo area.Recommended
Common Questions
Trustpilot
5 days ago
1 week ago
Get the App
